How to Sculpt Realistic Skin Textures in 3D Models
Master the art of creating lifelike skin in 3D models with expert texturing and shading techniques.
TIPS
11/15/20244 min read
Introduction
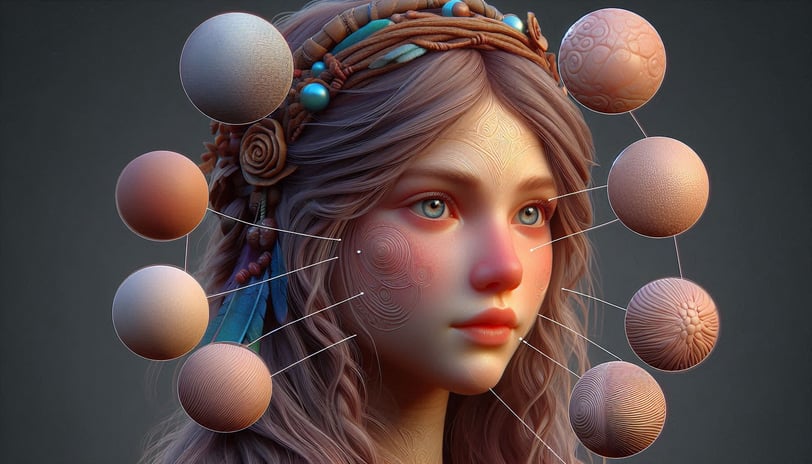
Realistic skin is a cornerstone of creating lifelike 3D models in industries such as game design, animation, and film. It brings characters to life, making them relatable and believable, whether they're heroes in a video game or actors in a visual effects-laden blockbuster. However, achieving this level of realism poses significant challenges.
The human skin is a complex organ with intricate details like pores, wrinkles, veins, and subtle color variations. Replicating these features in 3D requires a deep understanding of texturing, materials, and rendering techniques. Additionally, achieving the right balance of subsurface scattering, lighting, and shaders is crucial to making skin appear alive.
In this article, we’ll break down the essential techniques for creating realistic skin in 3D models, covering the following:
Understanding the anatomy of skin.
Using subsurface scattering for skin realism.
Creating detailed skin textures.
Painting skin using a layered approach.
Utilizing high-quality skin shaders.
Adding fine details like wrinkles, pores, and imperfections.
Rendering skin with realistic lighting and reflections.
Final touches and post-processing for polished results.
1. Understanding the Anatomy of Skin
Creating realistic skin begins with understanding its structure. Human skin comprises three primary layers:
The Layers of Skin
Epidermis: The outermost layer responsible for the skin's color and texture. It features pores, freckles, and fine wrinkles.
Dermis: The middle layer containing blood vessels, nerves, and collagen. This layer contributes to subsurface scattering effects.
Subcutaneous Layer: The innermost layer, consisting of fat and connective tissues. It adds volume and softness to the skin.
Key Features of Realistic Skin
Pores and Wrinkles: Tiny details that make skin appear organic.
Subsurface Scattering (SSS): Light penetrating the surface and scattering within the dermis, giving skin its soft, translucent quality.
Color Variations: Subtle changes in hue, like redness around the nose or blue veins beneath thin skin, add realism.
Understanding these elements ensures you replicate the natural complexity of skin in your 3D models.
2. Using Subsurface Scattering (SSS) for Skin Realism
What Is Subsurface Scattering?
Subsurface scattering (SSS) refers to the phenomenon where light penetrates a translucent surface, scatters within it, and exits at a different point. In human skin, this creates the soft, lifelike glow seen in areas like cheeks and ears.
Setting Up SSS in 3D Software
Blender: Use the Principled BSDF shader and enable subsurface scattering. Adjust the subsurface radius and scale to match skin thickness.
Maya/Arnold: Apply the AI Standard Surface shader. Adjust the subsurface weight and radius settings to achieve natural light diffusion.
ZBrush: While primarily a sculpting tool, ZBrush’s BPR rendering supports SSS for previewing effects.
Tips for Realistic SSS
Balance Is Key: Overuse can make skin look waxy; underuse makes it appear flat.
Focus on Thin Areas: Enhance SSS on areas like fingers, ears, and nostrils for natural translucency.
Reference Real Life: Study photographs or observe skin under different lighting conditions.
3. Creating Detailed Skin Textures
Importance of High-Resolution Textures
High-resolution textures are essential for capturing fine details like pores, veins, and blemishes. Aim for textures of 4K or higher, especially for close-up shots or detailed renders.
Techniques for Creating Textures
Photo References: Capture or use high-quality images of skin. Tools like Substance Painter can project these onto your model.
Procedural Generation: Use noise generators and texture patterns to create pores, wrinkles, or other skin features procedurally.
Texture Maps: Combine multiple maps for realistic effects:
Albedo: Base color map showing pigmentation and blemishes.
Bump: Adds small surface details like pores.
Displacement: Simulates larger skin features like wrinkles.
Normal: Enhances surface complexity by simulating lighting interactions.
4. Painting Skin Using a Layered Approach
Layered Painting Technique
Painting skin requires a layered approach to replicate its complexity. This method ensures that all elements—color, texture, and imperfections—blend seamlessly.
Step-by-Step Guide
Base Layer: Apply a neutral skin tone with subtle gradients.
Vein Layer: Add blue or green veins using a low-opacity brush.
Freckles and Blemishes: Paint imperfections like freckles, scars, or age spots.
Highlights and Shadows: Use soft brushes to create depth and enhance contours.
Blend Layers: Use blending modes like overlay or soft light for smooth transitions.
This approach ensures a lifelike appearance by combining natural variations and depth.
5. Utilizing High-Quality Skin Shaders
What Are Skin Shaders?
Skin shaders simulate the material properties of human skin, such as light absorption, reflection, and scattering.
Common Skin Shaders
Unreal Engine: The Material Editor includes pre-built skin shading models with subsurface options.
Unity: Use HDRP Lit Shader for realistic skin rendering.
Arnold (Maya): AI Skin shaders offer advanced controls for SSS and texture integration.
Adjusting Shader Properties
Roughness: Controls how light scatters across the surface.
Specularity: Adjust for oily or matte finishes.
Reflection: Fine-tune to simulate sweat or moist skin.
6. Adding Fine Details: Wrinkles, Pores, and Skin Imperfections
Sculpting Fine Details
Use tools like ZBrush, Blender, or Maya to sculpt features like wrinkles, pores, and scars.
Wrinkles: Add depth using custom alpha brushes.
Pores: Use noise patterns or texture stamps for realistic pores.
Blemishes: Sculpt and layer imperfections like acne scars or birthmarks.
Maps for Simulating Imperfections
Displacement Maps: Simulate large features like deep wrinkles.
Normal Maps: Add smaller details like fine lines or pores.
7. Realistic Skin Rendering: Lighting and Reflection
Importance of Lighting
Proper lighting highlights the subtle details in skin textures.
Three-Point Lighting: Use a key light, fill light, and rim light for balanced illumination.
HDRI Maps: Provide realistic environmental lighting.
Simulating Reflective Properties
Oily Skin: Increase specularity and reduce roughness.
Matte Skin: Decrease specularity for a softer look.
Wet Skin: Combine high specularity with subtle bump maps for water droplets.
8. Final Touches and Post-Processing for Skin Models
Rendering Passes for Final Tweaks
Use passes like ambient occlusion, specular, and diffuse to fine-tune your render.
Enhancing with Compositing
Photoshop or Nuke: Adjust tone, contrast, and sharpness.
Final Touches: Add subtle color grading for a polished look.
Conclusion
Creating realistic skin in 3D models is a complex but rewarding process. By understanding skin anatomy, mastering subsurface scattering, and using high-quality textures and shaders, you can achieve lifelike results. Practice and attention to detail are key to refining your craft.
Have questions or want to share your 3D skin creations? Drop a comment below—we’d love to see your work!